We know it sucks when the water line acts up in RVs. Especially when you are on a long trip. So, to avoid such nuisance, you need to keep your RV water line clamps in check.
Therefore, replacing it from time to time should be considered. But the act of removal might be the toughest part of the process.
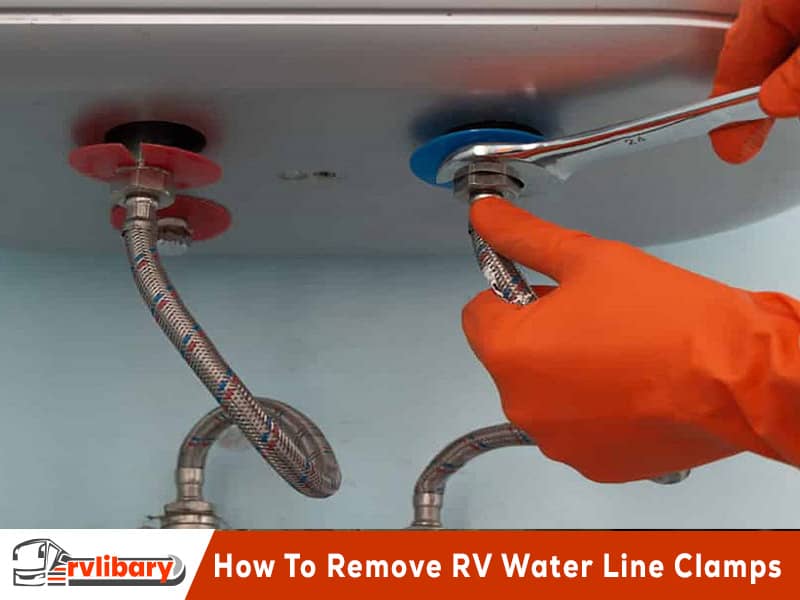
How to remove RV water line clamps?
Firstly, start with cleaning off the parts. Then detach the water hoses from the fitting. This one is a crucial part of the process. Now, remove the clamps covers first from the waterline, then the whole clamps. Lastly, turn on the water to check for leaks.
Does everything sound too hard? Here we have broken down the process step by step.
Buckle up!
How To Remove RV Water Line Clamps?
Before anything, there are a few tools that should be collected. These tools will ensure faster and safer removal of the clamps. Also, you will face minimal hassles if you use the tools properly and follow the steps carefully.
Tools Needed For The Removal Of The Clamps
As we all know, handyman tools are a necessity. Especially when it includes PEX pipe works. Even if you don’t know everything about PEX pipe, you need to know it’s tough to work with.
So, to remove clamps off the RV waterline, we would need a few special tools along with the regular ones.
- Flat-head screwdriver: You would need a screwdriver with a flat head to pry up the old PEX tubing clamp.
- Pliers: Pliers are needed to pull off the damaged PEX tubing clamp. Make sure not to damage any pipes.
- Cutters: To cut off the edges of the PEX these are required.
- Pipe-cutters: these are the most important tools. Do not try to use something else in its place. Due to their limited availability, you might have to look around a bit.
Removing RV water line clamps: 6 Steps To Follow
Actually, removing the RV water line is easier than you think. You just have to get every tool properly and use them accordingly. The steps that will make your waterline clamps removal easier are given below-
Step 1: Cleaning The Parts
You can’t start working with dirty disgusting pipes now, can you? So, first, you need to clean the pipes.
To clean the pipes properly, take them to a place where there is running water. Then, turn on both the hot and cold faucets for immense rinsing. Sometimes, there is not be any hot water pressure in RV, look out for that as well.
Step 2: Disconnecting The Water Hoses
Now, using a flathead screwdriver, disconnect the water hoses from the PEX fitting. Careful not to remove any clamps. But do remember their location.
It is required to reconnect them again after work is done.
Step 3: Removing The Clamps Cover
In this stage, you’re halfway done. So, start by loosening the clamp’s cover. Using a plier would be effective for this.
Remember, here you are removing the cover, not the clamps. So turn the covers until they are loose enough to be pulled off from the waterlines.
Step 4: Removing The Water Line Clamps
This is the step where you remove the water line clamps. Crucial and essential step. Try not to stress or put too much pressure here.
After removing the cover, the rest is pretty easy. Start by releasing the old rusty clamps. For that, slide them up the hose after loosening.
Then, replace them with a new pinch clam. After that, attach the water hoses back to the fitting.
Step 5: Checking The Water Line Plumping
Now, this is a pretty necessary step. Imagine doing it all and the result isn’t satisfying. For that, you should check the water line plumping to make sure it’s appropriately functional.
After making sure the plumbing is connected properly and is secured, turn on the faucet. We suggest you get the best hand-pumping faucet for your RV in case your old ones are damaged too.
Step 6: Checking For Leaks
Lastly, check for any leaks around the waterline. After putting on the new clamps, there may be some leaks.
Remember to check leaks by looking for moisture areas. These could indicate the location of water leakage from the RV’s PEX tubing lines.
If there is no problem found, then you should turn on the water. It will fill up the hoses before taking them off again.
But if you could detect a problem, turn the faucet off to reevaluate.
Why Do You Have to Remove Your Waterline Clamps?
It is necessary to replace anything problematic in an RV. Be it water line clamping or water line pump pulsing, to have issues in the recreational van is a nightmare.
Especially, in the water-related systems as it might damage everything for you. Waterline clamps hold the hose and the faucets together. Without a strong clapping system, the water might start leaking. Hence, will cause unnecessary tension.
There are various advantages of replacing the PEX tubing clamps. One of them is that you won’t have to worry about leaks in your plumbing system.
The water line clamps offer a secure connection for the piping. Which ensures that no gaps exist and that the water does not leak.
Therefore, replacing them every couple of years helps ensure that your plumbing system is in good working order.
FAQs
Q: What is PEX pipe?
Answer: This is a type of polyethylene-made flexible pipe, which is mostly used for plumbing affairs.
Q: Is PEX better than PVC?
Answer: Yes, they are. PEX pipes are more non-corrosion and flexible than PVC, hence they are better for plumbing.
Q: How long does the PEX pipe last?
Answer: PEX pipes have a lifespan of 100 years. So you are safe after installing them once.
Conclusion
As we have reached the end, you now have removed and replaced your clamps like a pro. If not, that’s fine as well. Just contact a professional, to do the job. Other than that, hope you learned something new from our article. Wishing you a happy RV life.
adios!