
Are the holes and scratches on your wood paneling really bothering you? So you’ve decided to replace the wood paneling. But, there’s a chance you’ll ruin the entire panel.
Now, you must be asking, how to patch wood paneling?
If you have holes in your wood paneling then you may need to fix them with a patch or new paneling. If the hole is too large, the faulty panel should be replaced with a new one. Use nails and adhesive to place the new wood panel on the paneling surface.
Are you still struggling? Well, don’t worry we got you a step-by-step guideline right here.
So, let’s dig right in!
2 Methods of Fixing Wood Paneling [Depending on the Size of the Holes]
As an RV user, you can face many problems, low voltage issues or have faulty wood paneling.
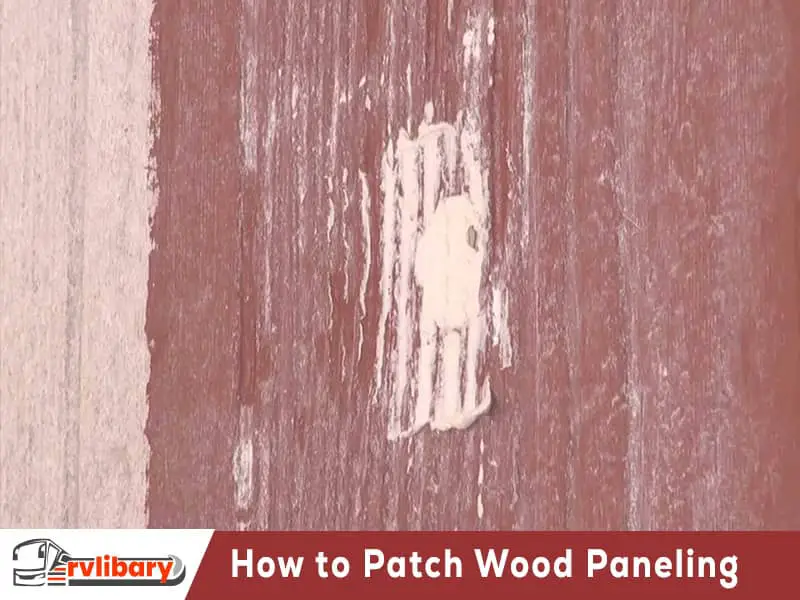
Wood paneling can have scratches, gouges, holes after being used for too long. Some accidents also can cause damage to your precious wood paneling. The defects can be very small to notice or very large.
Comparatively smaller holes can be fixed very easily with a patch. But what if the holes are too large? Well, you might need to replace a big portion of your wood paneling.
However, it’s really easy to fix both types of holes. Here, we have explained both of the processes.
Method 1: Patching Small Holes or Scratches [5 Simple Steps]
Comparatively smaller holes are better to patch with a new piece of panel. The process is as easy as removing tv from the RV cabinet. Following are the steps to fix it.
Step 1: Cutting the New Piece of Panel
First, you need to cut a piece of the new panel. It should be the same as the existing panel. Cut the panel slightly larger than the existing hole. Put the piece on the hole and mark the paneling around it with a pen. Stick the piece with masking tape there.
Step 2: Cutting the Defected Paneling Surface
Now, groove using a utility knife through the marking on the paneling surface. After that, remove the patch to be used and cut the surface. Bring out the cut-out paneling surface.
Step 3: Making a Framed Support for The Patch
Next, create a supporting frame for the patch. Use 4 (1” X 3”) furring strips to do so. Next, glue the furring strips with adhesive around the cut-out on the surface. The strips should be half exposed.
Step 4: Placing the Patch
After drying the adhesive on the paneling surface, put some adhesive on the patch. Make sure you apply them at the back and edges of the patch. Finally, put the patch on the paneling surface.
Step 5: Nailing the Patch
Finally, use paneling nails around the edges of the patch. The nails should be put 3 inches apart from each other. Use one between wood putty or wood filler to cover the nail head holes.
Here are some top-quality wood putties to use while fixing your paneling.
Both of them offer great value for your money. So, pick the one which will suit your paneling better.
Method 2: Fixing Large Holes and Gouges [5 Simple Steps]
Larger holes can be a bit complex to fix. You will need to replace the old panel with a new one. But you can do this all by yourself by only using some household tools.
Step 1: Removing Wood Molding
Firstly, you need to take out the wood molding around the defective panel. You can use a screwdriver or a pry bar to do this. Then lift the wooden strip and pull out the nails on it. This can be easily done by a set of pliers.
Step 2: Removing the Defective Panel
After you’ve successfully pulled all the nails out, lift the panel from the bottom. Remove the panel very carefully. Ensure that the surrounding panels don’t get scratched.
Step 3: Cleaning the Paneling Surface
First apply heat to soften the adhesive, and then use a scraper to remove all the glue on the surface. Clean the whole surface thoroughly. The residue might fall on the floor so try to clean it with the best quality broom.
Step 4: Placing New Panel
Then apply a bead of adhesive to the back of the new panel. Then set the panel in place before securing it with nails. Use enough nails along the top and bottom edges. Make sure you nail the through the seams as well.
Step 5: Replacing Wood Molding
Finally, replace and put some new wood molding around the new panel. Voila! Your wood paneling is fixed.
FAQs
Q: Can you put a plaster over paneling?
Answer: You can apply aged plaster on wood paneling. It covers the paneling so you don’t need to remove it. This also can be done on drywall or vinyl panels.
Q: Can I use wood filler on the paneling?
Answer: You can use wood filler in your paneling. It is used to fill the cracks in your paneling. Applying wood filler should be done with a putty knife.
Q: Can I paint over paneling without sanding it first?
Answer: Yes, you can paint over the paneling without sanding. But first, you need to clean the surface. Use soap and water to remove dust and dirt. After that apply a coating of deglosser on the surface.
Bottomline
Finally, we’ve come to the end of our segment! Make sure to follow all the steps we have provided on how to patch wood paneling.
Best of luck while fixing the panelings! Stay safe and be careful.
Goodbye!
